Like I mentioned in the last post, we've been doing some awesome backgrounds inspired by old-school Disney. We have been looking especially at concept work by Mary Blair and Eyvind Earle for inspiration. We really want our characters to inhabit an awesome, unique world. I think this is a fine way to achieve that goal. I think I have nailed down a style that I really enjoy, so I'd like to share the process with you all.
First and most importantly, I started by figuring out my palette. Usually I'll pull some from a photo or go hunting for inspiration on Colour Lovers for a good starting point. (I overload on colour choices way too readily, so limiting myself at the beginning is a definite necessity for me.) This is what I decided on:

(The colours are a little wonky, converting from CMKY to RGB, but you get the basic idea.)
For this exercise, I am creating a bush that will be used somewhere in the foreground, so the colours are stronger and have more contrast among each other than I would choose for trees in the distance, for example. But, this works for my purpose, so forward we go!
I'm working in Photoshop on a Cintiq so you have a point of reference. I want to be able to use and re-use these bushes (did I mention how many frickin' forests and outdoor scenes there are in this book?) so I created a file that is 6" x 6", at 300 dpi. I don't think I'll have an instance where I have a full page shrubbery so this should be more than enough.
Then, I make a shape, using my darkest colour, like so:
 Very hard, right? :) I keep each component to this sucker on its own layer, that way it's very easy to change things around if you need to. This is just a basic rectangle for a low bush. I rounded the corners with the eraser, mostly because I dislike hard corners. The corners don't really show in the final product.
My next step is to make it look like a bush. I have a lot of leaf brushes in my arsenal, but it's very easy to make your own customized ones. Just draw your leaf shape in black on a white background, then go to Edit>Define Brush. It'll show up at the end of whatever brush palette you happen to be on at the moment. Easy peasy. This is my basic fern sort of brush:
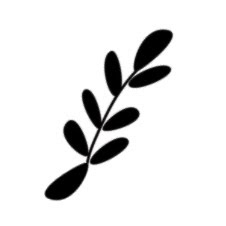 See how it's the same on both ends? It's important because I set the brush to "scatter" and also I turn "angle jitter" on, so the brush gets flipped around randomly as I draw with it. I didn't want a bunch of stems sticking out (although sometimes it's a neat effect) so some kind of symmetry was important.
So, I select my nifty brush and go around the edges of my rectangle with it, careful not to let too much or too little show. I'm still using the darkest colour at this point.
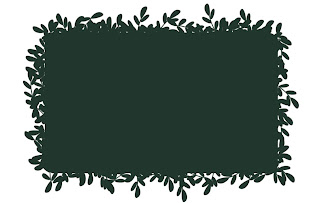 I don't really like how all of these guys ended up scattering around the edges, but I'm not going to worry about it right now. It might be good later when I get the other layers on. I'll also turn off scattering and jitter occasionally to pinpoint an area that needs it.
Okay, my basic layer is done, so I'll select the next darkest color and hit it again with the same brush:
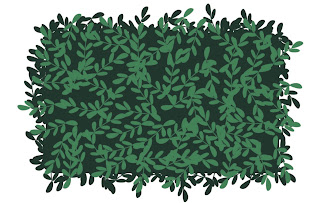 Here you can really see the scatter effect of the brush. I have my pen pressure determine the amount of scattering, I'd definitely take advantage of this if you're working on a tablet.
For the next layer, I'll choose a different brush to mix it up a little. I went with a sort of wispy frond brush, and sized it bigger than the one previous. Choose the next darkest colour and...
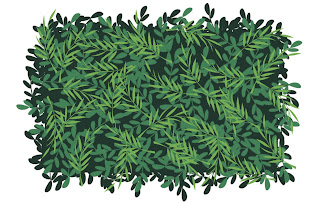 Oh yeah, I like that! I'm just going for good pattern and shape here, definitely not realism. Some of these little leaves and stems are really bugging me, so I'll take my eraser and clean up what I don't like.
For the last step, I want to choose a fun brush that will be, well, fun. It's a fun little decorative element that makes it have personality. I went with a nice berry-like brush for my lightest colour. I didn't want too much, though, or else it would look too over-done. If they're on different layers, though, you can go back and tweak as much as you like.
And here is the final product!
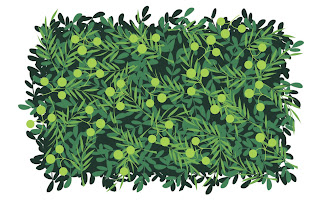 Hooray! It's a bush. I like it!
Here's a sneaky peek at the same process applied to trees:
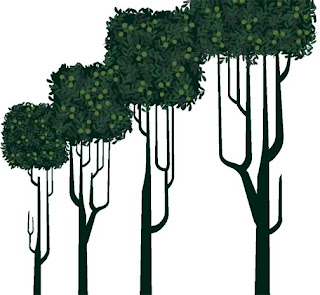
Fun shapes extend to the trunks. You can also see there is a lot less contrast in the palette for the leaves.
Next time: more characters!


I am running as fast as I can to get illustrator up and follow along. Loving the Professors!
ReplyDeleteNow that's what I'm talking about. I love reading up on your process stuff. Custom brushes and scatter/angle jitter make perfect sense. I'm going to have to use some of that technique in my own stuff.
ReplyDelete